So here is the first post of a series I’m going to do on DIY projects I’ve taken on that have helped me with film making or Image making. The first is a DIY steadycam that you can make for about $15 with parts from the hardware store. Professional Steadycams are very expensive and this option is pretty good if you are working on a budget. I’ve seen some variations that I’d like to try out but this one served me quite well while I was shooting Overcoming Going Under.
The directions I followed were from Johnny Chung Lee, and were a great starting point.
The main variations I made (improvements, if I do say so myself) were to the connection point to the camera. The one he uses in the instructions is basically just a bolt, which could work of your camera is really small, but if you have a Canon XH-A1 like I do you’re going to want more support than that.
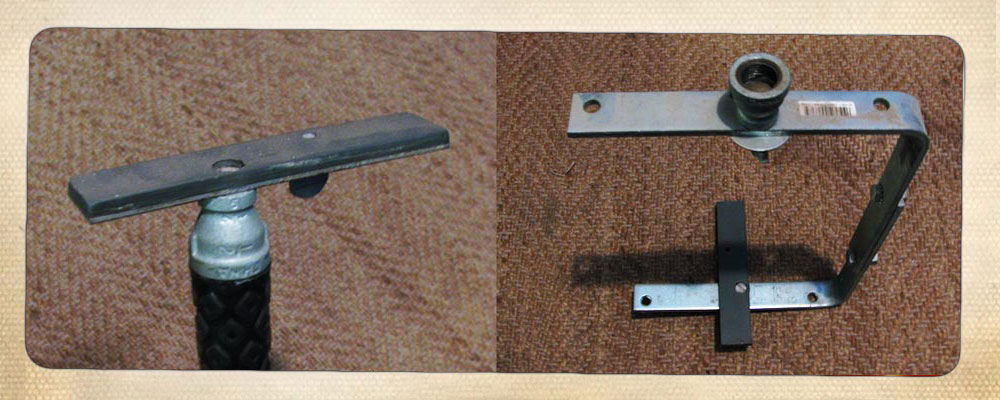
I fashioned mine out of a metal brace, basically just a flat piece of metal with four holes drilled in it that I bought at Home Depot with rubber attached to it with Gorilla Glue (the rubber was from a strip of industrial rubber wall molding I also bought at Home Depot) and a little 1/4 twist screw that goes into the tripod mount of the camera. As you can see in the picture I also added a set of bicycle grips to the metal pipes, which I thought was a good improvement, and I was able to get at Target for about $5.
Another thing I did was make a reverse attachment that would allow me to shoot close to ground and capture shots of feet walking or low angle shots. This attachment fastened on the head end of the Steadicam which would be used upside down with the weight at the top at the bracket (shown below) at the bottom. It worked really well.
If you have any questions about how I did it, how it works, or where to get parts please feel free to leave your question in the comments. Till next time…